
How to Remove Gel Nail Polish at Home the Right Way
Gel nail polish is built to last. That glossy, chip-free finish comes from a formula that cures under a UV or LED light, which means it bonds to the nail far more tightly than regular polish. That same strength is exactly why gel cannot simply be peeled or wiped off — it needs a proper removal process, or you risk damaging your natural nails underneath.
The good news is you do not need a salon visit to do this safely. With the right tools and a little patience, you can remove gel polish at home while keeping your nails healthy. Here is the complete step-by-step guide.
What You Will Need
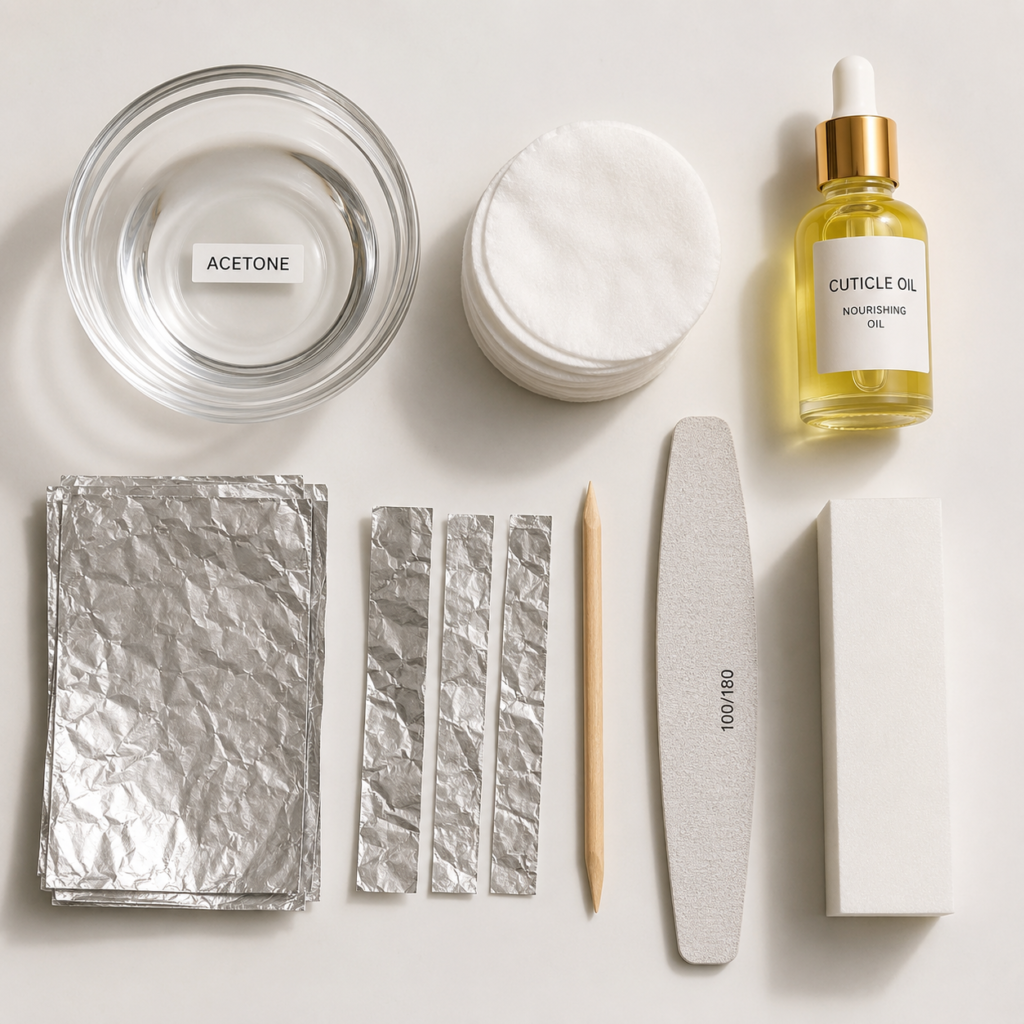
Before you start, gather these supplies so you are not searching mid-process:
- 100% pure acetone (regular nail polish remover will not break down gel)
- Cotton balls or cotton pads, cut to the size of your nails
- Aluminum foil, cut into small squares
- A nail file (medium grit)
- A cuticle stick or wooden orange stick
- A soft nail buffer
- Cuticle oil or hand moisturizer
- Petroleum jelly (optional, to protect your skin)
Step 1: File the Top Coat
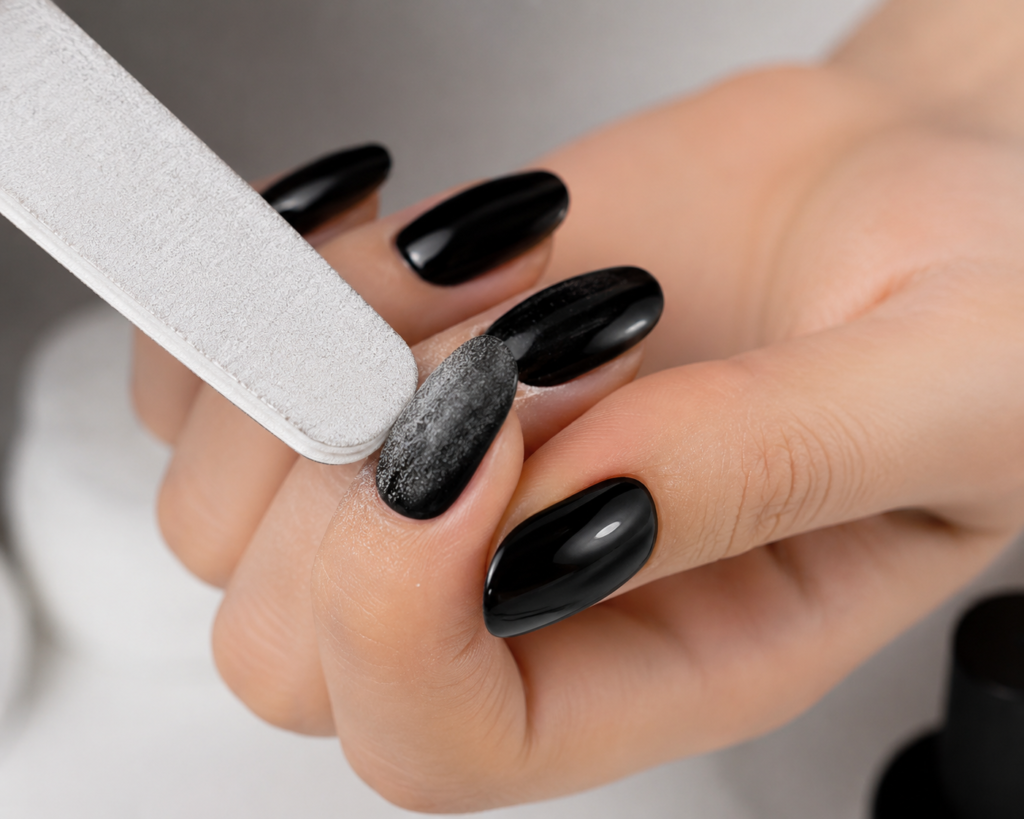
Start by lightly filing the shiny top layer of your gel polish. This breaks the seal so the acetone can actually penetrate and soften the gel underneath — skipping this step significantly slows down the whole process.
Focus only on removing the shine, not on filing all the way down to your natural nail. Damage from gel removal usually comes from being too aggressive here, since over-filing pulls away layers of the nail itself rather than just the polish. Use light pressure and stop as soon as the surface looks matte rather than glossy.
Pro Tip: File in one direction rather than back and forth — this reduces friction heat and is gentler on the nail plate underneath.
Step 2: Protect Your Skin
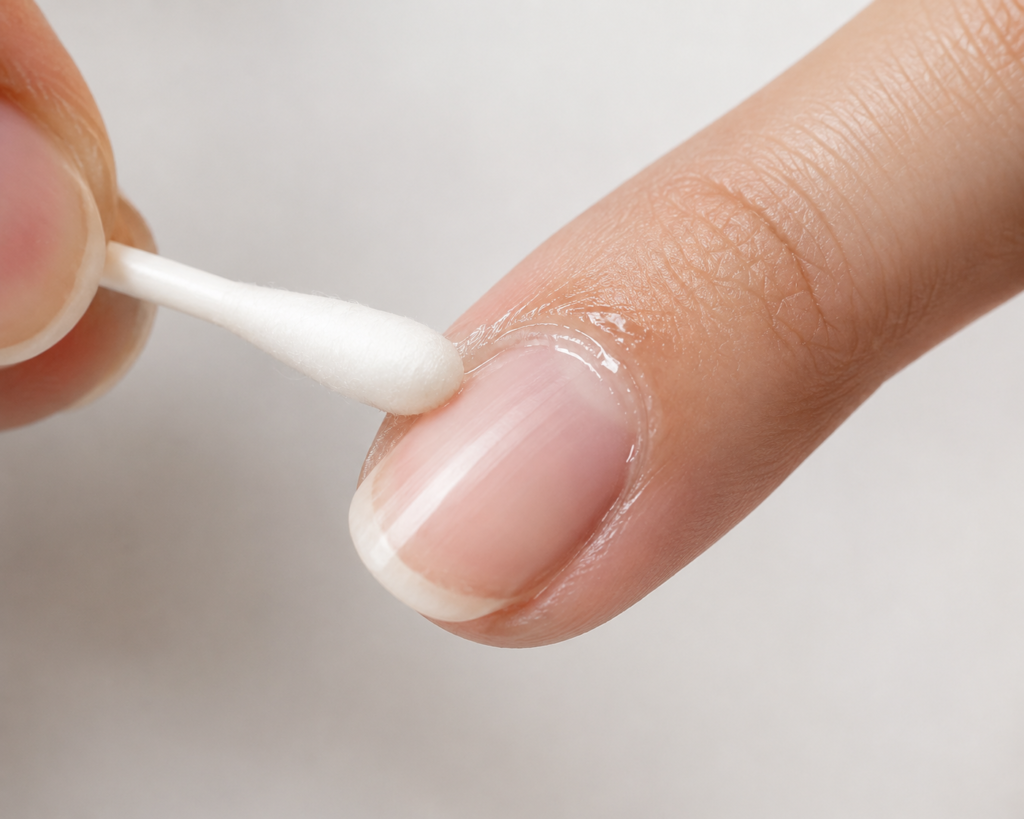
Apply a thin layer of petroleum jelly to your cuticles and the skin surrounding each nail. Acetone is drying and can irritate the skin, so this small step makes a real difference if you are soaking your nails for an extended period.
If you are working at a table or counter, line the surface with a paper towel or cloth first — acetone can damage certain finishes on wood or laminate surfaces.
Step 3: Soak Your Nails in Acetone
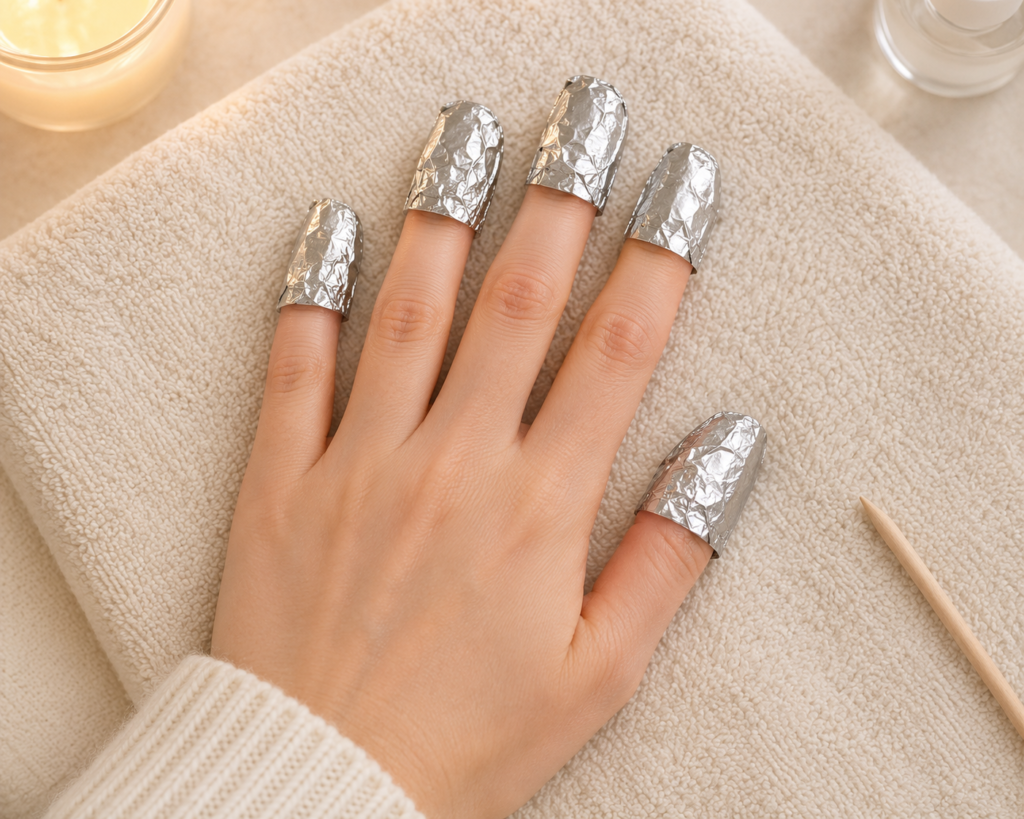
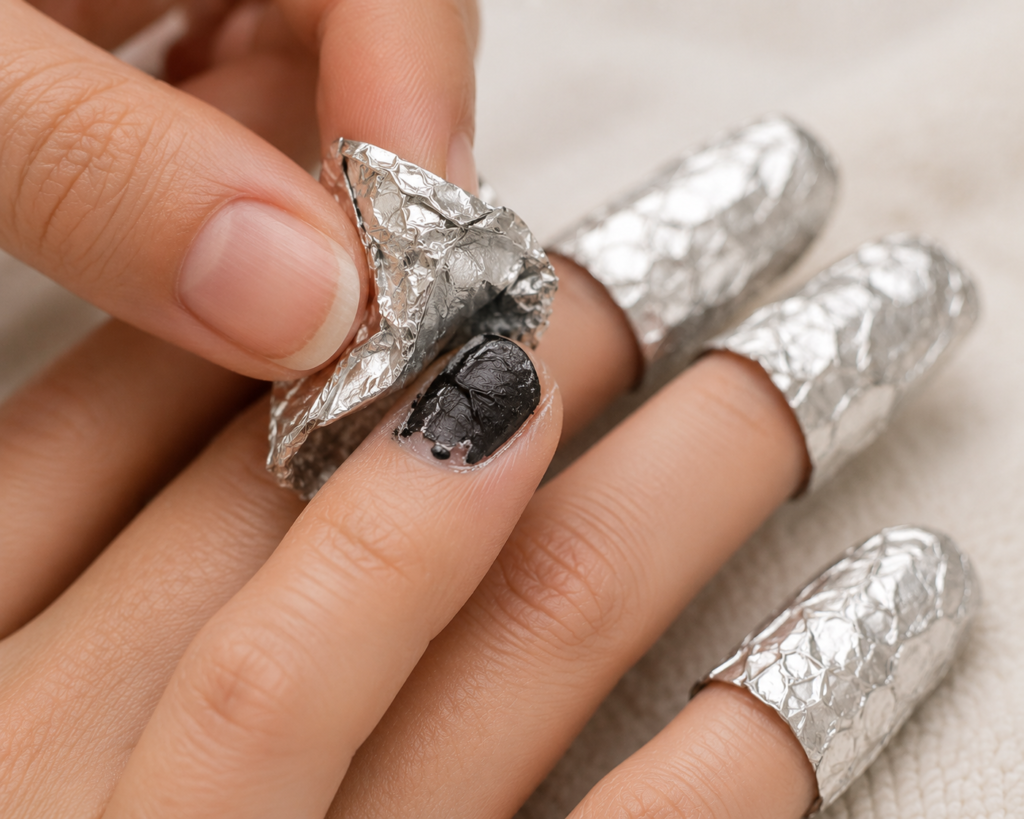
Saturate a cotton ball or pad with 100% acetone and place it directly on top of each filed nail. Wrap each fingertip in a small square of aluminum foil to hold the cotton in place and trap the heat, which helps the acetone work faster.
Leave the wraps on for 10 to 15 minutes. Wrapping your hands in a warm towel during this time can speed up the process, since heat helps the acetone break down the gel more effectively. Try to resist checking too early — removing the foil before the gel has fully softened just means you will need to start the soak again.
Step 4: Remove the Foil and Check the Nails
After 10 to 15 minutes, gently press and twist the foil off one finger at a time rather than pulling all of them off at once. The gel polish should look wrinkled, bubbled, or visibly loosened.
If a nail is not budging easily, do not force it. Re-wrap that finger with a fresh acetone-soaked cotton pad and let it soak for another 5 minutes before trying again.
Step 5: Gently Push Off the Softened Gel
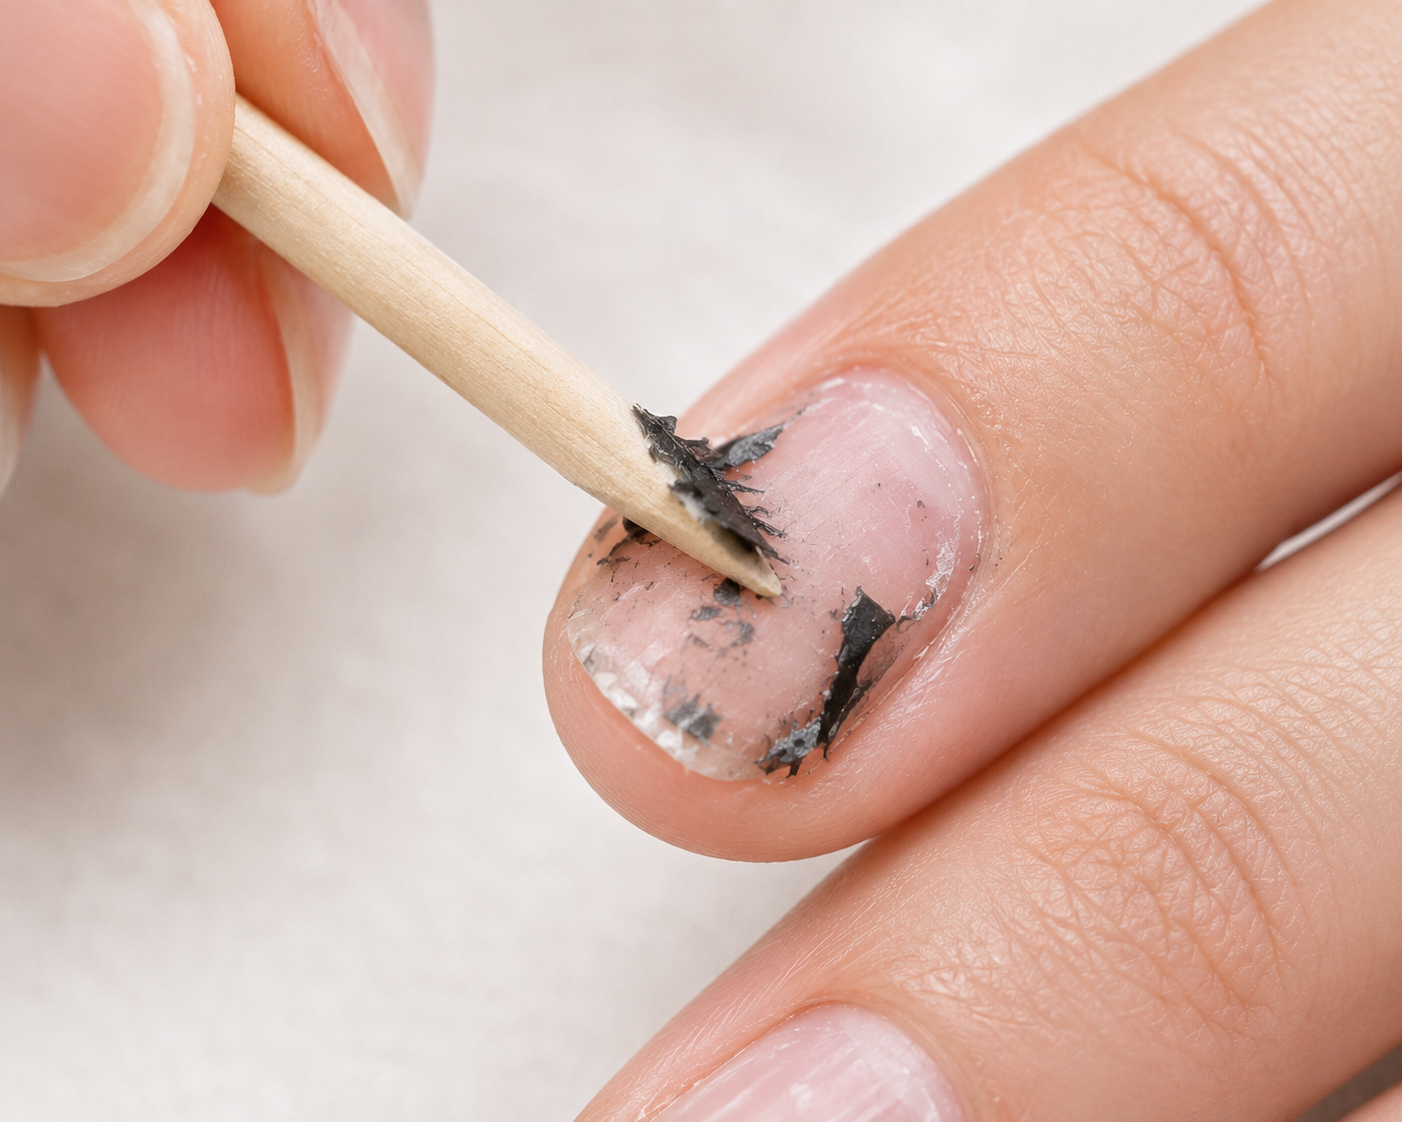
Using a cuticle stick or wooden orange stick, gently push the loosened gel off each nail, working from the cuticle toward the tip. The polish should lift away in small flakes or sheets if it has soaked long enough.
Never scrape or dig at the nail if the gel is not moving easily — this is the step most likely to cause real damage. If resistance is strong, go back to soaking for a few more minutes rather than forcing it off.
Pro Tip: Work on one hand at a time so the acetone on your other hand does not dry out while you focus on removal.
Step 6: Repeat Until Fully Removed
Some nails soften faster than others. Repeat the soak-and-push process on any nails that still have polish residue until every nail is completely clear.
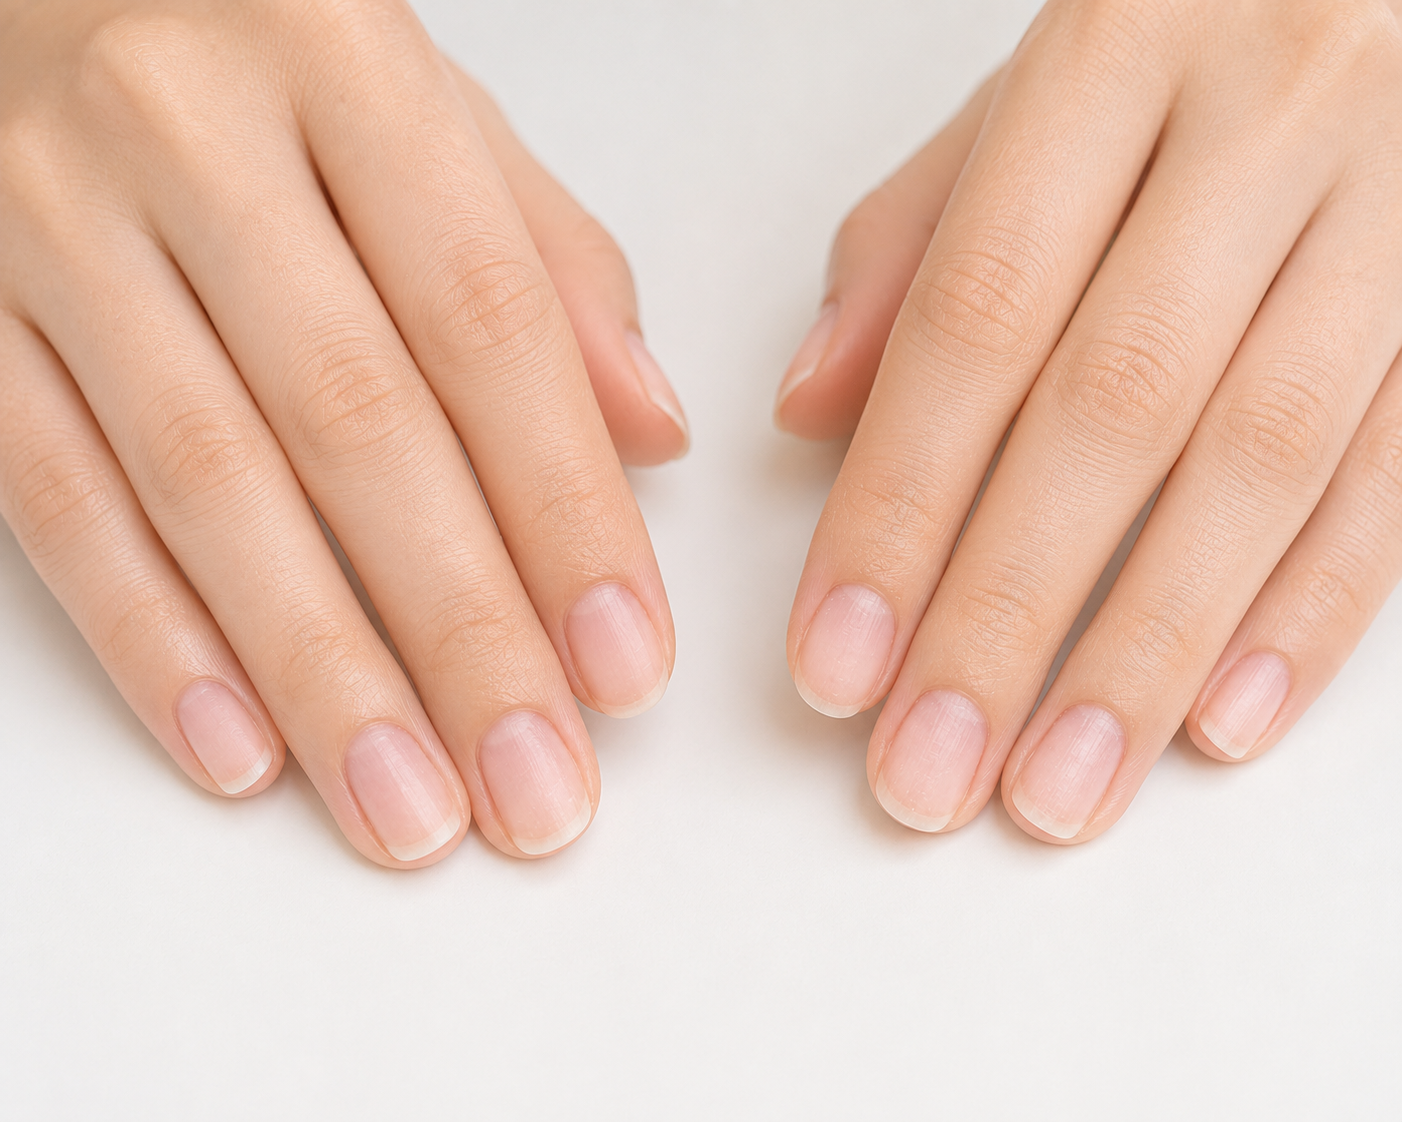
Once all the gel is off, lightly cleanse each nail with a cotton pad dipped in rubbing alcohol. This removes any leftover acetone residue and gives you a clean surface to check your nail condition.
Step 7: Buff and Smooth
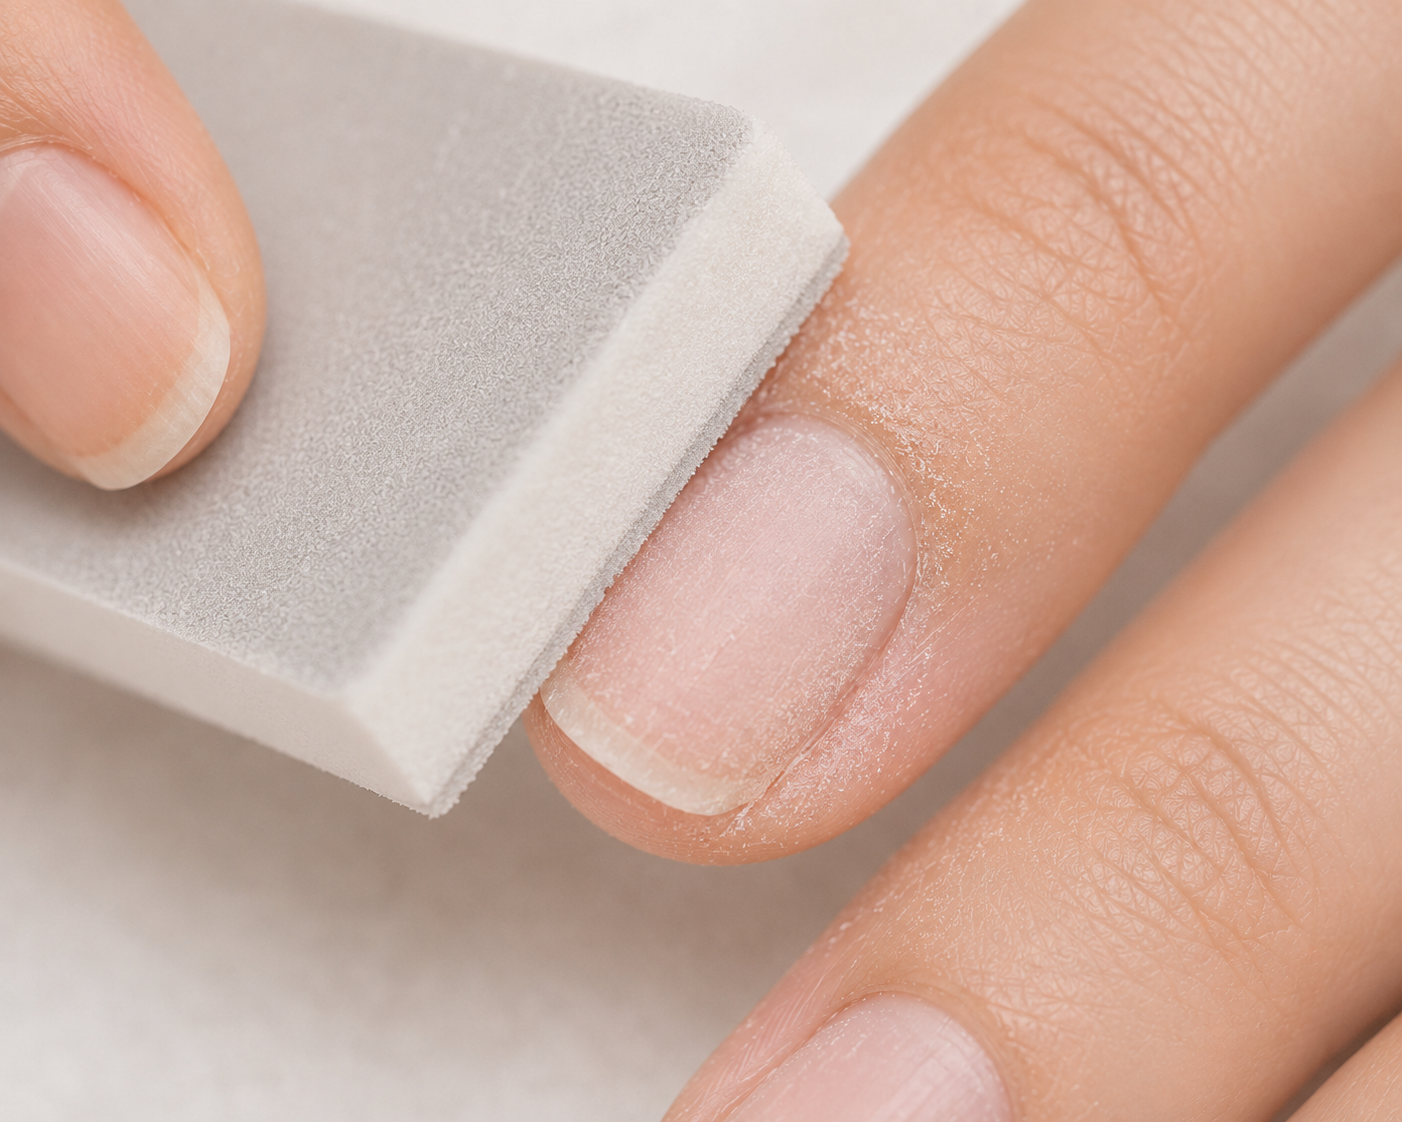
Once your nails are completely bare, use a soft buffer to gently smooth out any remaining unevenness on the nail surface. Buff lightly — this step is about polishing the surface, not thinning the nail.
Wipe away any dust with a soft brush or dry cotton pad before moving to the final step.
Step 8: Moisturize and Restore
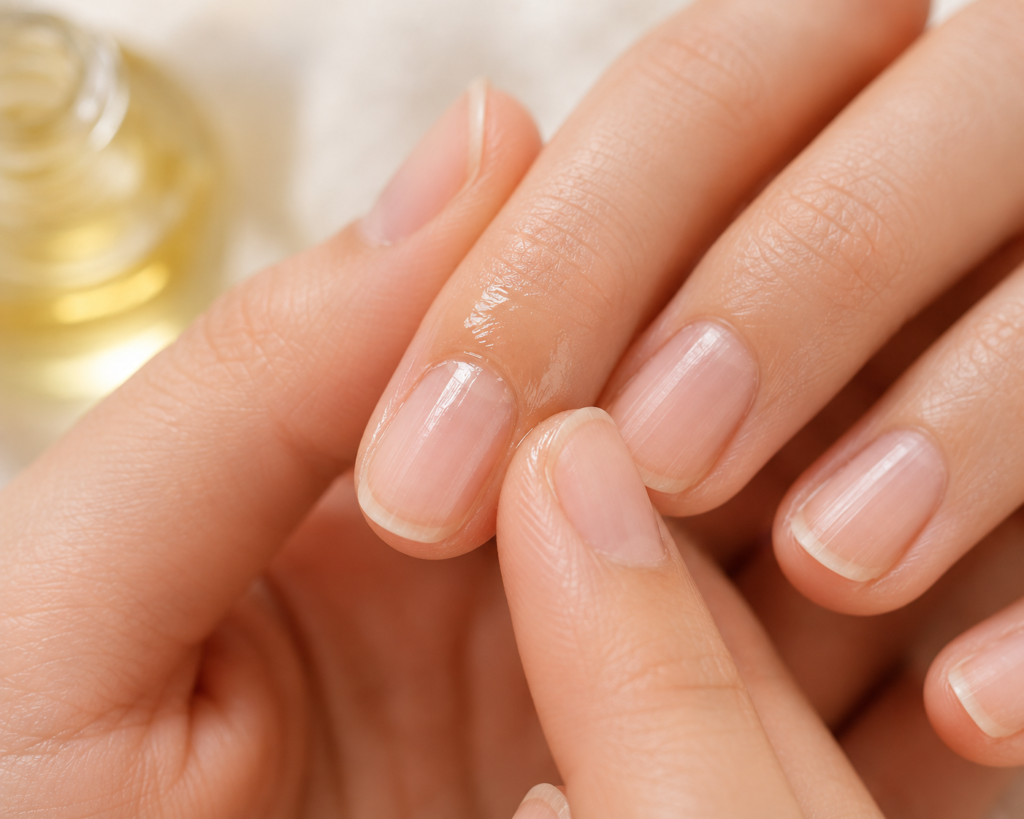
Acetone is dehydrating, so this final step matters more than people usually expect. Apply cuticle oil to each nail and the surrounding skin, then follow with a hand cream to lock in moisture.
It is normal for nails to feel slightly softer or more flexible right after gel removal — this is temporary and usually resolves within 24 hours as your nails return to their normal hydration level. Give your nails a short break before your next gel application if you can, even just a few days, to let them recover.
What If the Gel Will Not Come Off?
If you are dealing with a hard gel, builder gel, or BIAB overlay rather than standard gel polish, the process takes a bit more patience. These thicker gel types often need extra filing before the acetone soak and may require a longer soak time. Hard gel in particular is usually best removed by a professional, since it cannot be soaked off the same way regular gel polish can.
If after several rounds of soaking the polish still will not budge, stop and give your nails a rest rather than continuing to file or scrape. A professional removal at a salon is always a safer option than risking damage from repeated aggressive attempts at home.
Common Mistakes to Avoid
Peeling or picking at the gel. This is the single most damaging thing you can do — it pulls away healthy layers of your natural nail along with the polish.
Over-filing. Filing past the point where the shine is gone and into the natural nail surface thins and weakens the nail plate.
Skipping the moisturizing step. Acetone strips moisture from both your nails and the surrounding skin, so aftercare is not optional if you want your nails to stay healthy.
Rushing the soak time. Removing the foil too early and then forcing the gel off usually causes more damage than simply waiting a few extra minutes.
FAQs
Is removing gel nail polish at home bad for your nails?
Not if done correctly. Removing gel nails at home is not inherently damaging — it just requires patience and the right supplies. Rushing the process or picking at the polish is what causes damage, not the act of removal itself.
How long does it take to remove gel nail polish at home?
The traditional acetone soak method typically takes 15 to 25 minutes from start to finish, including the soaking time. Filing and buffing add a few extra minutes on either end.
Can I use regular nail polish remover instead of acetone?
No — gel polish bonds much more tightly to the nail than regular polish, so standard remover will not break it down. You need 100% pure acetone specifically for gel removal.
Why do my nails feel soft or bendy after removing gel polish?
This is completely normal. Nails lose moisture more slowly when covered by gel, so removing it can temporarily change how the nail feels. This usually returns to normal within 24 hours, especially with proper moisturizing.
Should I take a break between gel manicures?
Giving your nails even a short break — a few days to a week — between gel applications helps them recover moisture and strength. Continuous back-to-back gel applications without any break can weaken nails over time.
Ready for your next manicure? Check out our latest nail design guides for inspiration.